Multi Function Printer Set-up in Billericay
Setting up a printer is a straight forward process but it can take a while and the instructions are not always easy to follow.
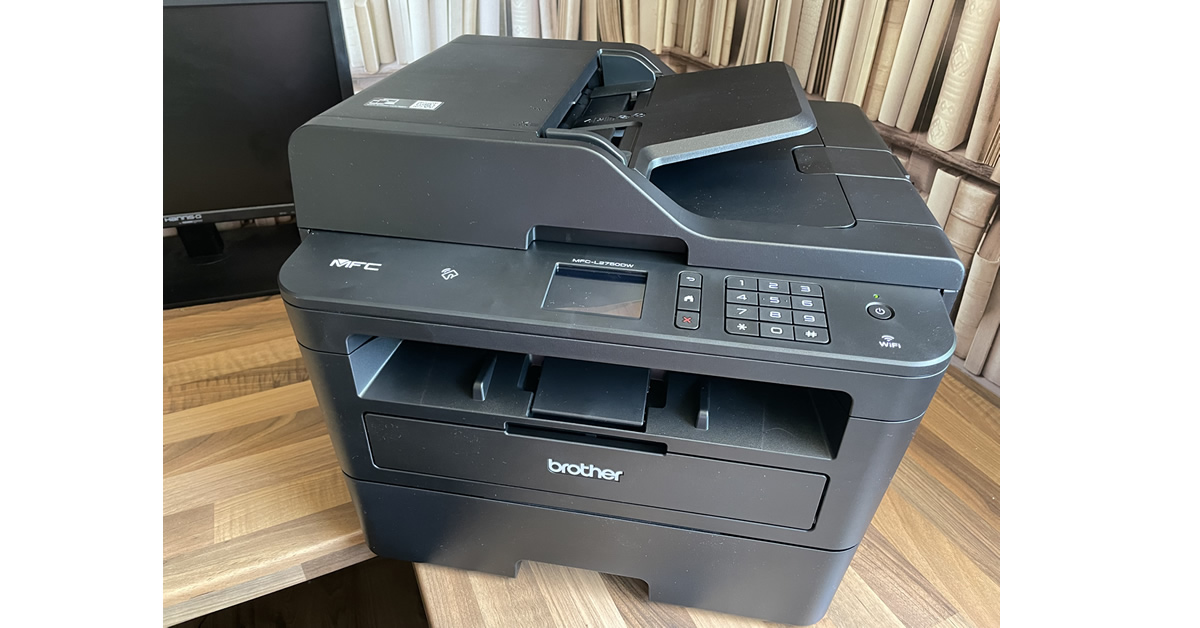
So we went to a client today in Billericay, who is very busy running their own business and just wanted the job done. We arrived and there was just a big box on a desk that needed opening.
The printer set-up and installation followed these steps:
- Take off all the tape from the printer
- Install the printer cartridge
- Add some paper
- Connect the power cable and turn on the printer
- Follow the set up instructions on the printer display
- Go into the printer settings and select the WiFi Wizard
- Select the WiFi in the office and connect the printer
- From the Client’s computer access the internet
- Search for the Printer and model number with driver in the search
- From the search results, select the manufacturers website referencing the printer model number
- Select to download the full software package for the designated operating system
- Download this software
- Run the software once downloaded
- Select WiFi printer set up and follow the prompts shown
- The printer is now installed on the computer and ready to start printing
- A test print is completed successfully
So all these steps are straight forward to us and the job completed in about 30 minutes given the software took a while to download. It was JOB DONE AND CLIENT HAPPY.